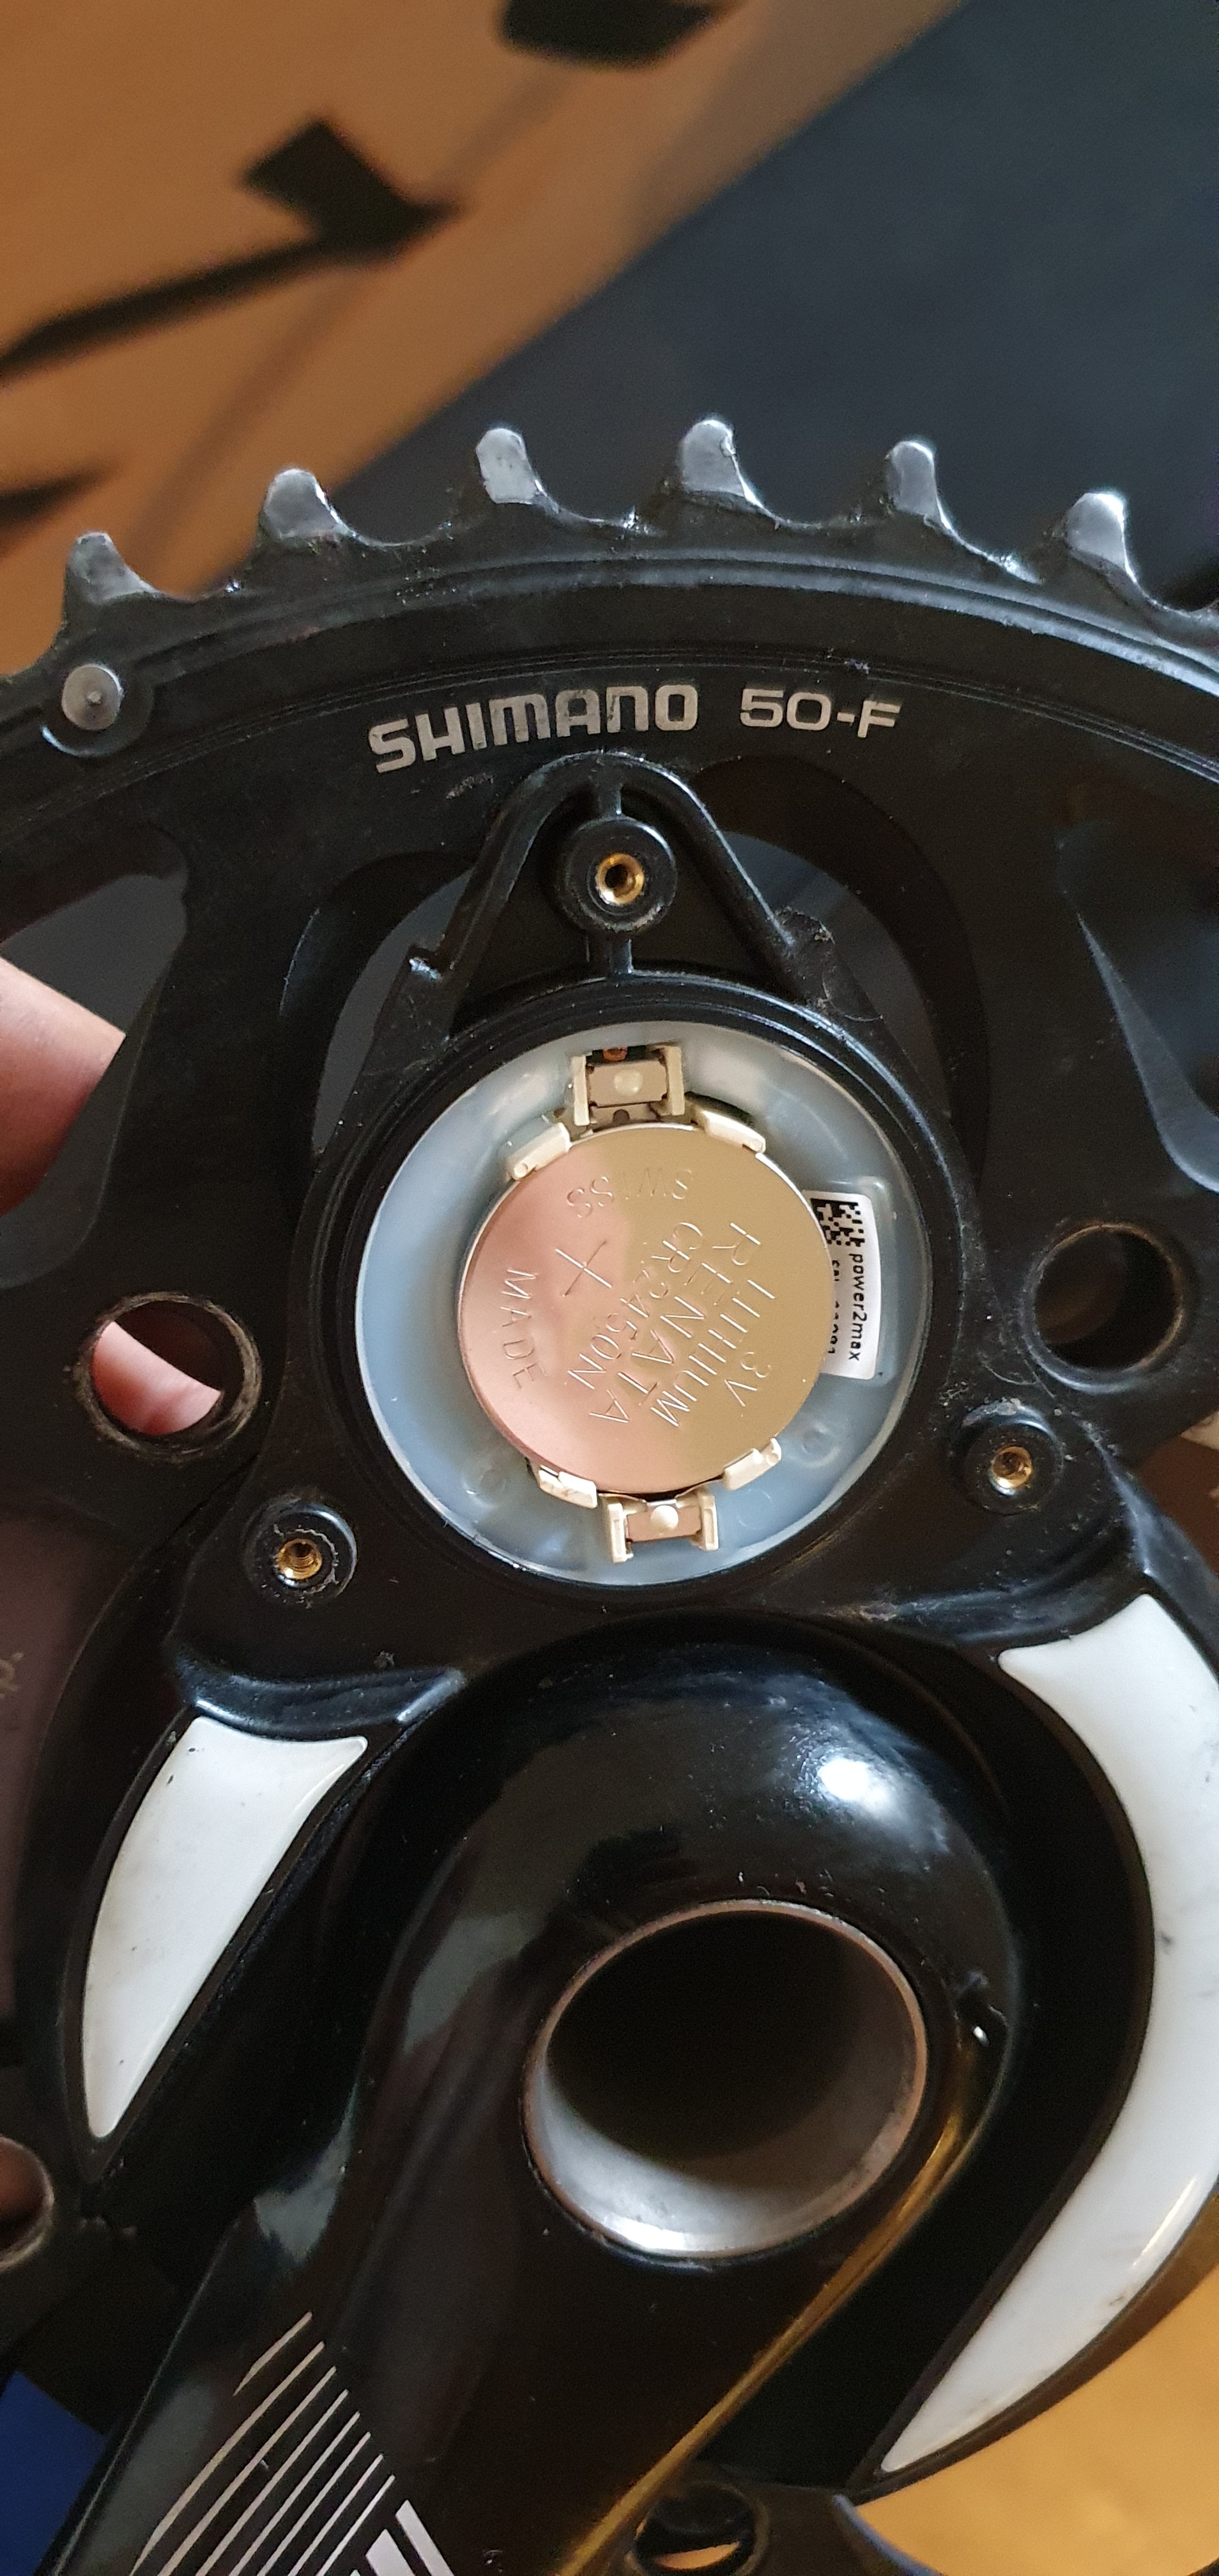
So how on earth do I get the large chainring off? It won’t slide over the triangular battery pod?
I know a few of you had P2M classics in the past. Any ideas?
So how on earth do I get the large chainring off? It won’t slide over the triangular battery pod?
I know a few of you had P2M classics in the past. Any ideas?
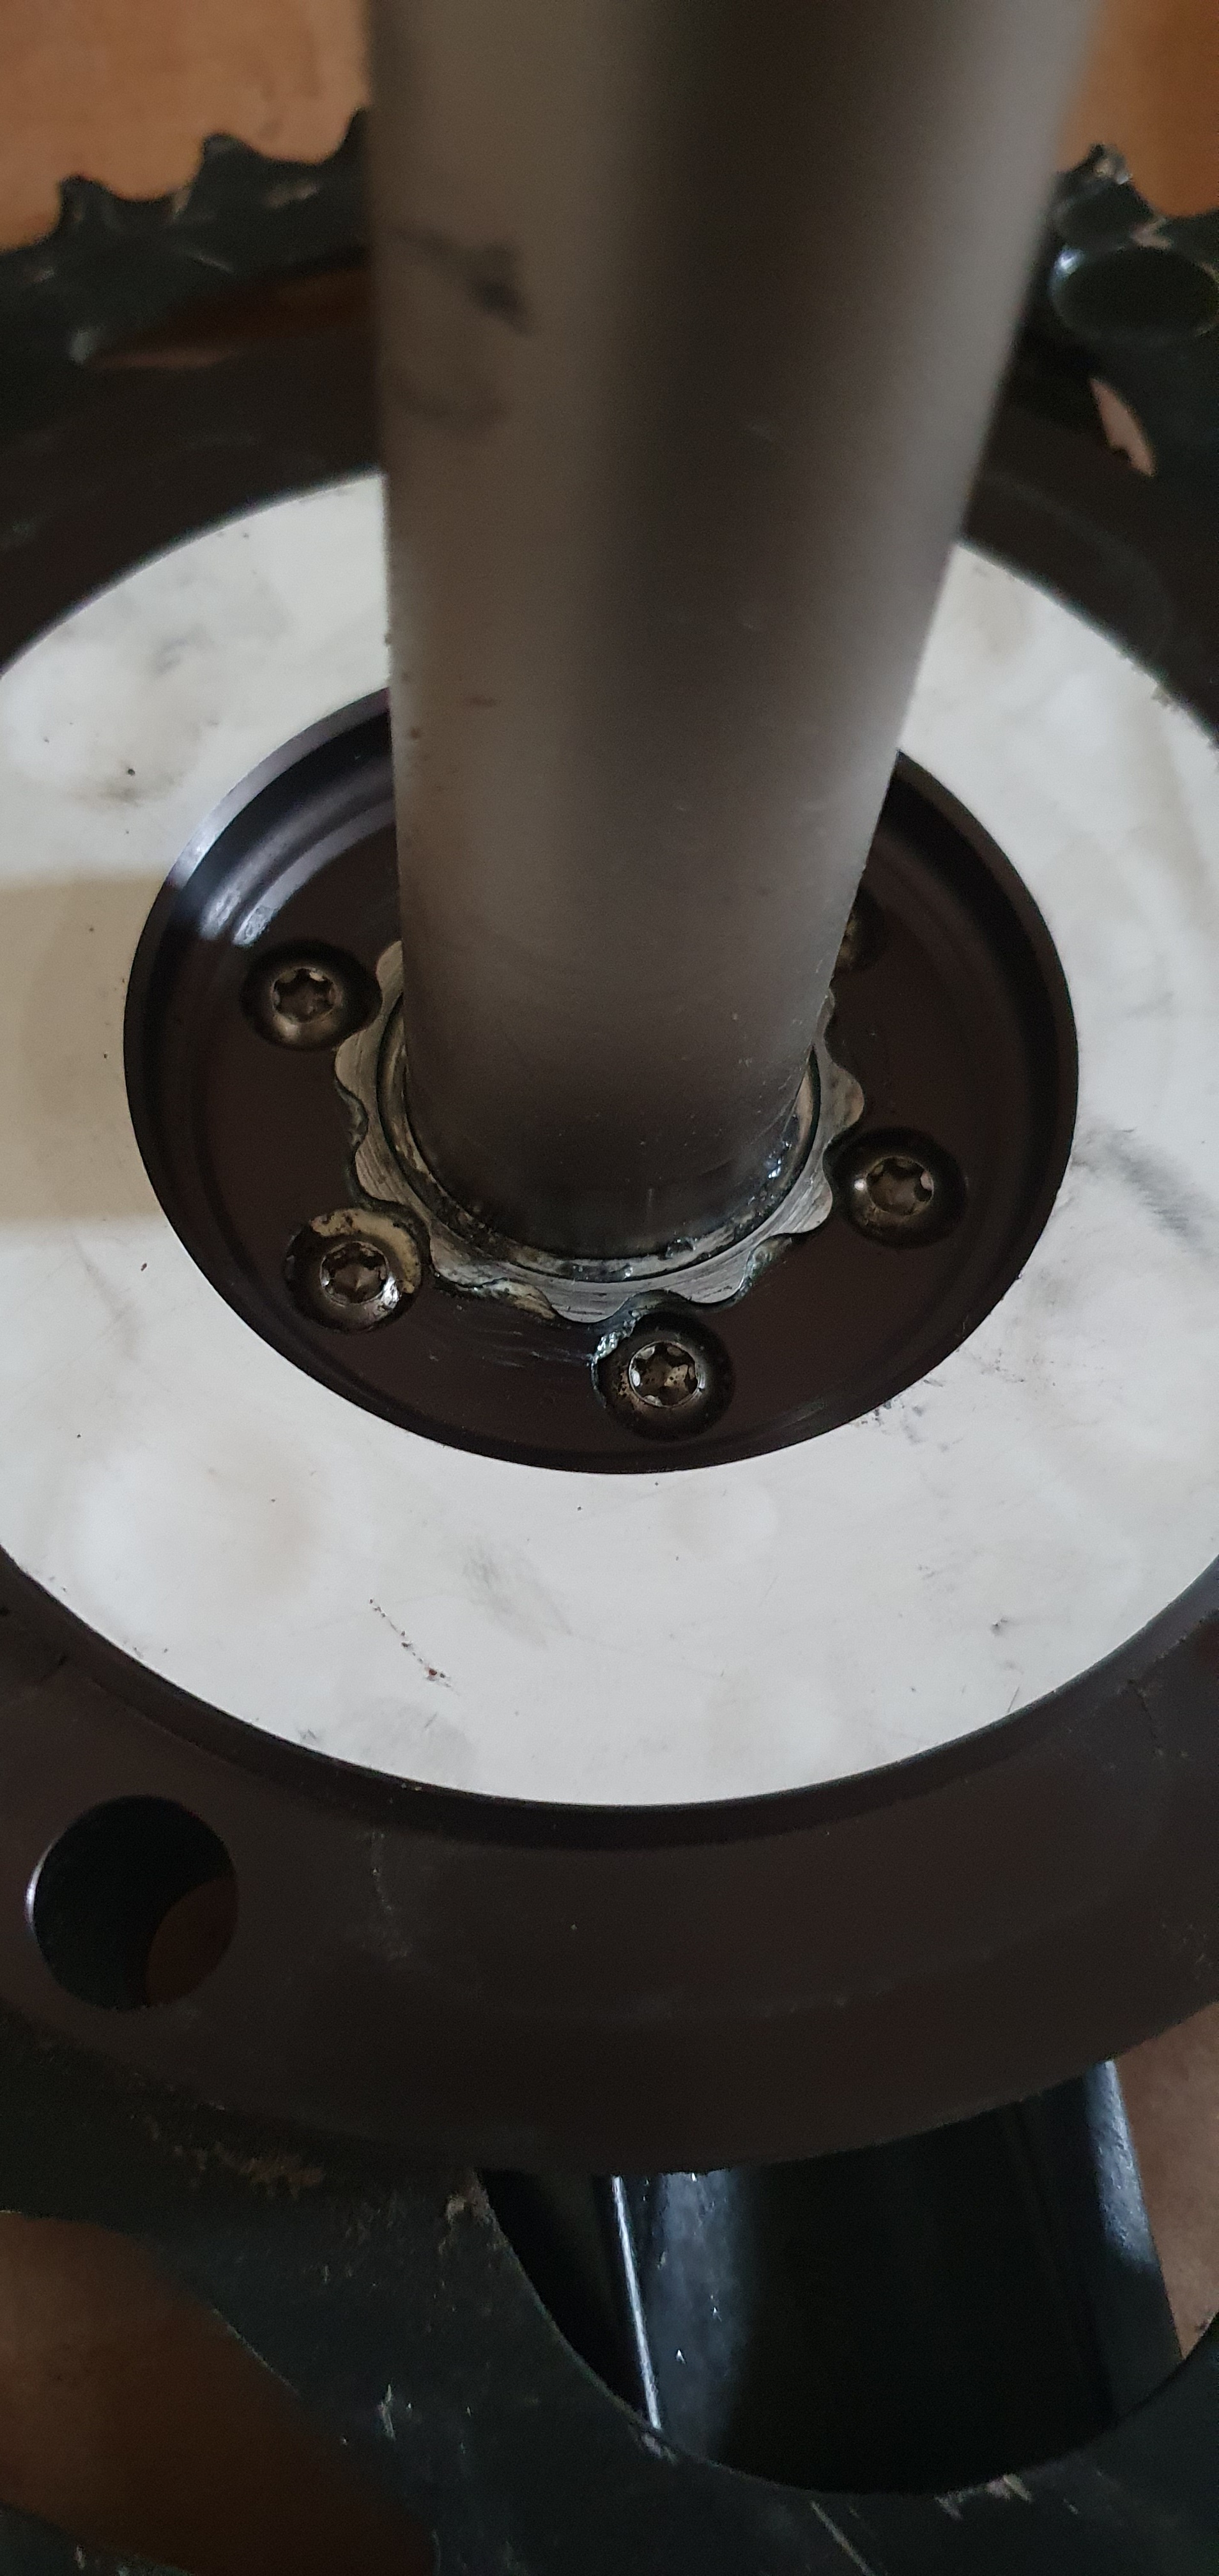
Does the crank arm and spindle come off on the back of the spider?
I’m thinking that must be it, even if my memory says it came as a unit. Must be wrong.
Issue is, it’s a torx bolt head, and not the T25 I have. Also no idea what the torque would be to reinstall. Going to have to acquire a set of torx heads compatible with my torque wrench, reverse check where the bolts break the wrench currently, then undo.
Bollocks. A lot more effort than I thought and not getting done tonight. So all this effort for nothing! I remember now why the original Classic was known to be a bit horrid compared to the second gen Type S I have on my TT bike.
It’s a long time since I had one but that looks and sounds familiar. I think if you had an older 130BCD you could slide it over that battery\sensor unit, but as it’s a compact it’s a ballache.
Not sure about torque I’m afraid, might be on their website, and I recall their support was quite good.
Yeah, I’ll drop them an email. Thanks.
In better news, I got the crank back on and all square with far less rubber mallet use this time, so that only took 5mins. So that’s an improvement!
Buying a compatible torx set is the next challenge then
Steve, the cranks come off the spider but you need a special tool to do it. It slides down over the spindle and locks in place around the wavey circle you can see in your photo. You then need a large spanner to turn it.
Are you sure? The Rotor P2M I bought came with such a tool, but this one didn’t. So I’m unclear how it was installed if it needs a special tool?
I’ll email P2M to validate what I need to do.
Right, I can’t include links yet so will try to work around on the power2max website append to the url:
“/en/product/special-tool-for-rotor-3d-30mm-spindle/”
This is what I’m talking about though it seems to be specific to crank type so you may need to be careful. I’d email them to check. Hope this helps.
Yeah, I have one of those and it came with my Rotor 3D30 crankset when I bought my second P2M. But as I say, this is a FSA Gossamer crank and never came with any special tools like that.
For example, this legacy listing for the same crank talks about “4 spare screws for fixing the crank to the power meter”, so I do think for this one it was done differently to the likes of Rotor cranks.
Ah yes, a timely reminder that I have a spare Rotor 3D+ P2M sat in the garage. Yours for say £350 
Is that a 24 or 30mm spindle?
30mm obviously, because I’m a torque monster.
lol. Already have a 30mm Type S that is now a pain due to having three bikes which would prefer 24mm spindles, so sadly of no use.
It’s strange given their robustness why P2M doesnt seem to hold it’s value. There’s loads of the new ant+/BT dual versions (NGeco) going for £400 odd
Indeed, mine never missed a beat. Not once in 4 years.
To be fair, my Assiomas only wobbled because I didn’t have every device set to the same crank length.
Agreed. I had literally never touched this Classic since buying it about 6 years ago, other than to change the battery. It’s only because of the new bike, and thinking I might as well change the rings that I’m now fumbling around!
The same for my Type S on the TT bike. They just work.
Had it confirmed from support that its the screws I need to undo. Also, through trawling, I’d managed to satisfy myself of this as well from elsewhere (sorry for the ST screenshot!)
So now I just need to borrow some torx bits
T20 acquired and it was all rather straightforward.
The hardest bit was doing up the old shimano chainring bolts when reinstalling the old rings back on my old road bike cranks. Whoever thought that was a sensible way to do up chainring bolts, versus the double allen key approach, needs shooting.