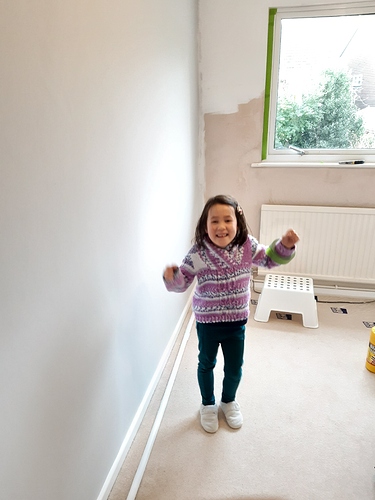
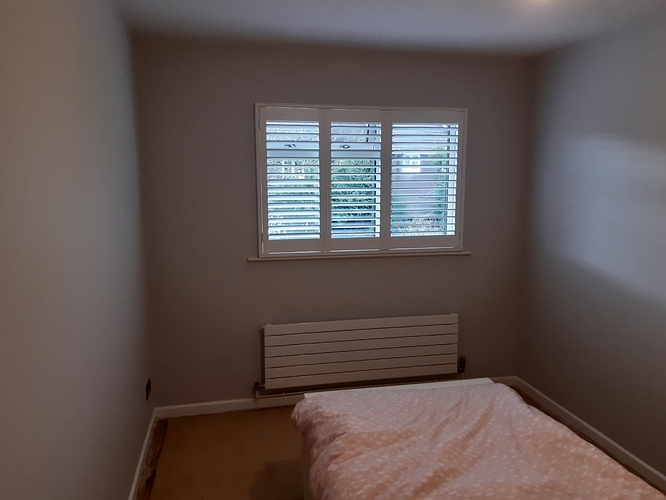
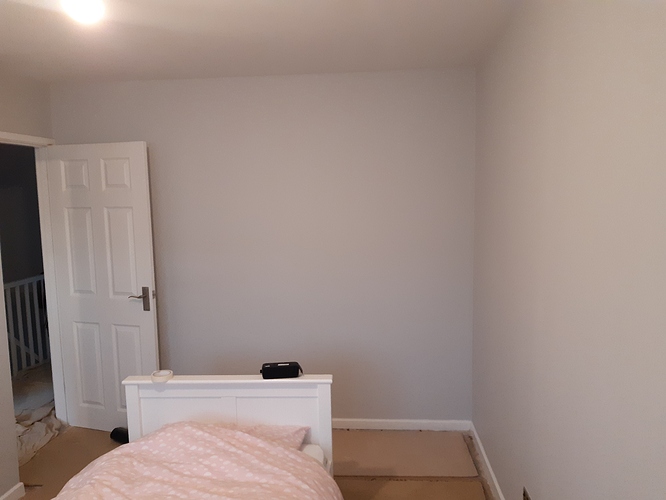
cheers - very chuffed with the result! cutting the angles wasn’t the easiest and it’s very slightly out at the bottom but we can live with it. Ideally we’d like to replace the stairs as they creak like fuck (cheaply made and we think may have been used elsewhere) but that’s an expensive and messy job that we’re putting off for some time - better things to spend money on. I’d also get the local joinery firm to do that as well rather than attempt a DIY.
Re the creaking. We have horrible chipboard sheet floorboards, rather than pine. They were all creaking and as we’ve changed a carpet in a room, I’ve screwed them down with these SpaxScrews, they are really good and cured over 80% of our creaking.
They might work on stairs?
it’s made of cheap MDF treads and ply risers rather than solid timber so it flexes a lot more which makes it creak like hell, I’ve tried screwing the treads to the risers, plus screwing and glueing battens under - made no difference so best bet is eventual replacement if we want a quiet life!
Yeah I fear ours might be that way in a couple of years. This isn’t our ‘forever’ house though, so might throw some talc down just for selling. 
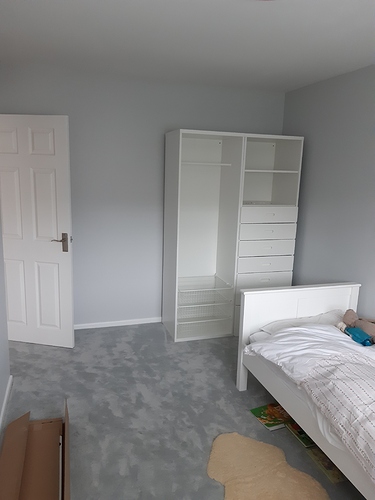
Getting there. Just the back of two doors to paint second coat. New carpet going in Little One’s room on Wed and fitting new lights in both rooms. Once carpet is down then we
need to build new wardrobes in both rooms.
I only get help if I play White Stripes on Spotify. By help I mean dance like a loon.
And after 5 x 12-15hr days plus last weekend, what do I get? A new bike I hear you say?
Close. A zero beer and a bar of chocolate. I don’t even like chocolate much but that bastard wont be touching the sides. 
We have handrails on both sides of the stairs; after a long run they are awesome 
it’s an age thing…  tbh - I’m not sure our stairs comply with current building regs as they are open on one side as you can see in the picture - would be a nightmare if there were rugrats around falling off them. but very handy when you need to shift stuff upstairs as nothing to get in the way
Did some repointing today…I’d post a photo, but I’m too embarrassed.
just lining up a new project. the floor in our pain cave, aka summerhouse, is made of flagstones which I think are laid straight onto the concrete base (need to get one up to fully check) with no damp membrane so it’s a) cold (esp in winter) and b) has damp spots as the base is quite low compared to some of the surrounding areas so water is getting under the flags - very noticeable with the current high water tables. I’ve thought of laying some self levelling compound over the top and using a latex DPC, and then laying laminate but I think this will raise the floor level too much. but taking the flags up will take it in the other direction and give a very low base which will need building up and probably too much for self levelling so maybe a screed. it’s also complicated by stud partitions for separate toilet/sink and laundry areas laid on top of the flags so they would need to be taken down to get at the whole floor area.
think I’ll get a builder in to advise and then decide if it’s something I fancy tackling myself.
I’m surprised that would add too much depth to the floor, or do you not have much room to play with? The floor guy we had put some bitumin type damp stuff on top of our scree in the extension (we didn’t want to wait for it to dry naturally) followed by self leveling compound and some Karndean laminate - can’t have come out at much more than 5-6mm depth in total.
as the flags have an uneven surface, and seem to have been laid a bit pissed (some are definitely higher than others) the self levelling might add about 2cm overall (but I do need to take a better view using some levels and see) and the problem then comes with the door threshold which is already just above the flag surface. however, I have someone coming to look at the doors tomorrow as they are wood and in winter (especially when it’s very wet) they expand a fair bit and stick badly (fine in summer when dry) so I’m going to get him to price up for alternatives (uPVC or aluminium) which won’t stick, and ask whether the threshold can be raised. if so, the self levelling will be an easier way forward and I can tackle that myself having already done so on the house floors before laying wood down. I also used a latex DPM over the self level - horrible stuff but does a good job.
haha what on earth made me think today would be a non running chill out day. Flat pack wardrobe turned up at 3.00 and I’ve just finished, at least for the night. Still have two shelves and the doors to fit.
ugh
IKEA?? I have put together so much of that stuff - including 12 sets of desk, drawers, cupboards plus additional stuff for our offices - that it doesn’t faze me any longer.
Yeah the Stuva Fritids. The basics were ok but spacing the runners was a nightmare… weve run away to Mum’s for the weekend but progress so far is below.
Loft stilts, loft boards…pretty simple is it?
DIY Bodgers of TriTalk2.0…
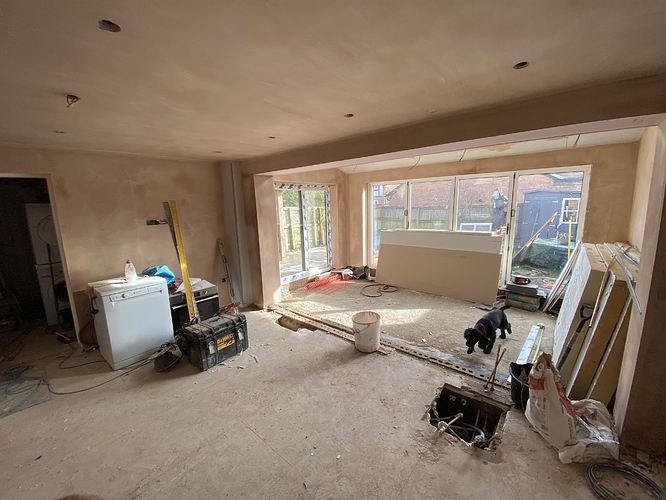
…we had our house replastered when we moved in two years ago, but then, like a pair of numpties, we had the windows replaced, which has cracked some of the new plaster. As well as the natural house movement.
The cracks are so small, you can’t even get a Rizla into them, but I don’t want them putting off the purchaser, or for the surveyor to say they are something they are not.
Does anyone have experience of this?
https://www.diy.com/departments/polycell-crack-free-white-matt-emulsion-paint-2-5l/127228_BQ.prd
(All of our walls are brilliant white, so touching up isn’t an issue)
We had two of the stone walls in the living room re-rendered & plastered last autumn, after they were tanked for damp proofing. After a few months of ‘settling’ and the heating being on, the plaster inevitable dries fully and contracts = hairline cracks. Not a lot you can do really, apart from a bit of filler.
What hasn’t happened this time though, is the paint hasn’t flaked; because we sanded & white-washed the plaster before the paint went on (previously there were a lot of paint coats, and I don’t know how well it was prepped by previous owner).
Surely you’ll be using lime plaster in your old house, so that it moves with the house?
Our paint never flaked, as we did that misting coat a few times, then went from there, so that the paint took to the wall.
Looks like I’ll have to spend £23 on what essentially a tin of white paint with some PVA glue in there 
